

 Z
Z
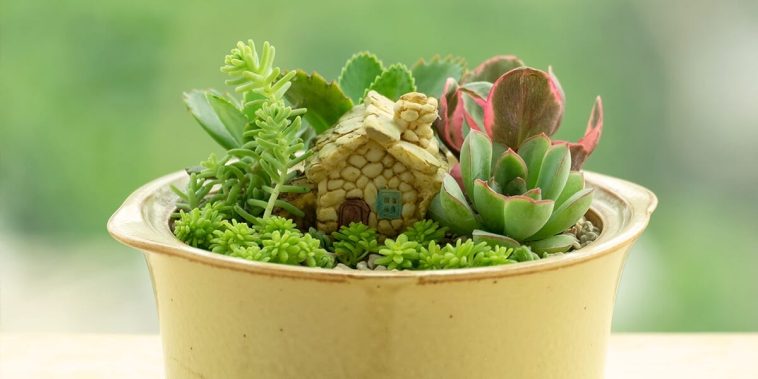
DIY plant pot gifts with painted designs have become one of my go-to gift ideas for almost any occasion. Whether it’s a birthday, housewarming, thank-you gesture, or just a thoughtful surprise, a painted plant pot filled with a little greenery feels both personal and lasting. It’s creative, hands-on, and versatile enough to match anyone’s style. Every time I’ve given one of these, it has been received with genuine appreciation. There’s just something special about a handmade gift that also brings life into a space.
The best part is how easy it is to customize each one. With just a few materials, a splash of color, and a little imagination, a plain terracotta pot turns into a meaningful piece of art. If you enjoy painting or simply love sharing plants with others, this DIY project is a beautiful way to combine both.
In this guide, I’ll walk through my full process for making DIY plant pot gifts with painted designs, from selecting the pots and paint to sealing the design and choosing the perfect plant to go inside.
Materials You’ll Need
The supplies for this project are simple and affordable. Most of them are available at any craft store, hardware shop, or even your local garden center. Here’s a basic list of what I use:
- Terracotta or ceramic pots
- Acrylic paint or multi-surface paint
- Paintbrushes in various sizes
- Painter’s tape or masking tape
- Pencil or chalk for sketching designs
- Clear acrylic sealer spray
- Plant of your choice
- Potting soil
- Optional: stencils, sponges, or paint pens
Having a clean and dry pot is important before starting. I always give mine a quick rinse and dry them thoroughly to make sure the paint adheres properly.
Selecting the Right Pots
I usually prefer terracotta pots for their natural look and absorbency. They’re lightweight, inexpensive, and easy to paint. Ceramic pots also work well, especially if they have a smooth finish. Just be sure they’re not glazed on the outside if you want the paint to stick properly.
Size depends on the plant I plan to give. Small 4-inch pots are perfect for succulents, while larger ones are better for herbs, snake plants, or ferns. I’ve even used tiny pots for party favors, and they always get a smile.
Painting Techniques for Every Style
When working on DIY plant pot gifts with painted designs, I like to think of the pot as a blank canvas. There are so many styles to try depending on the look I’m going for. Here are a few painting techniques I love using:
Solid color base
For a clean and simple style, I paint the entire pot in one solid color. White, pastel blue, or mustard yellow look great with green plants. Once the base coat dries, I’ll add extra designs on top.
Color blocking
By taping off sections of the pot with painter’s tape, I can paint bold color blocks for a modern look. I love combining matte black and gold, or soft blush and grey. The contrast makes each section pop.
Dotted or speckled texture
Using the back of a paintbrush or a cotton swab, I apply dots in a random or organized pattern. Gold dots on a white pot look especially elegant.
Hand-lettering
For a personal touch, I hand-paint short words or phrases like “bloom,” “grow,” or the person’s name. Paint pens or fine brushes help with this part, and I often sketch it lightly in pencil first.
Botanical motifs
If I’m feeling more artistic, I’ll paint little leaves, vines, or floral shapes. Sometimes I use stencils or trace designs I print out. Even if the drawings are simple, the finished look is always charming.
Each of these styles gives me freedom to personalize the gift. Whether I want it playful, elegant, rustic, or whimsical, the paint gives me control to match the recipient’s personality.
Step-By-Step Instructions
Here’s how I usually go about making DIY plant pot gifts with painted designs:
Step 1: Clean and prep the pot
I wipe off dust and rinse the pot if needed, then let it dry completely. If the surface is too rough, I lightly sand it for a smoother finish.
Step 2: Apply a base coat
Using a flat brush, I apply a base color if I want the entire pot to be painted. Acrylic paint dries fast, but I sometimes use two coats for better coverage.
Step 3: Sketch your design
Once the base coat is dry, I sketch any lettering, patterns, or shapes with pencil or chalk. This helps guide the brushwork.
Step 4: Paint the design
Using smaller brushes or sponges, I fill in the design carefully. For fine details, I switch to paint pens or use a toothpick to apply tiny dots or lines.
Step 5: Let it dry and seal
After the paint has dried completely, I spray a coat of clear acrylic sealer. This protects the artwork and makes it more resistant to water and soil stains. I usually apply two coats, allowing each to dry in between.
Step 6: Add the plant
Once the pot is ready, I fill it with fresh potting soil and add a healthy plant. I water it lightly and clean off any soil that might get on the painted part.
Picking the Perfect Plants
The plant inside your pot is just as important as the design. I like choosing low-maintenance varieties that will thrive even if the recipient isn’t a seasoned gardener. Here are my top plant choices for DIY plant pot gifts with painted designs:
- Succulents: Hardy, drought-tolerant, and available in many shapes and colors
- Herbs: Basil, mint, thyme, or rosemary offer fragrance and usefulness in the kitchen
- Cacti: Quirky and cute with minimal care required
- Snake plant pups: Easy to propagate and perfect for beginners
- Spider plants or pothos: Great for indoor spaces and air-purifying
I always make sure the plant matches the pot size and that there’s a drainage hole, or I add some pebbles to the bottom to avoid root rot.
Adding Personal Touches
What makes these gifts so meaningful are the little extra details. To elevate the presentation, I like to include:
- A handwritten tag with care instructions
- A small card explaining the design or message
- Decorative twine or ribbon wrapped around the pot
- A plant marker made from popsicle sticks or wooden spoons
- A gift box with tissue paper or a kraft bag with handles
Even if the design is simple, these small additions show thought and effort. People really notice the difference when something is handmade just for them.
Occasions That Are Perfect for These Gifts
I’ve given DIY plant pot gifts with painted designs for a wide variety of events, and they always seem to fit the moment. Some of my favorite occasions include:
- Housewarming: A cheerful welcome gift that adds life to a new space
- Mother’s Day: I painted pots with floral patterns and added lavender
- Teacher appreciation: A painted pot with the message “Thanks for helping me grow”
- Bridal showers: Coordinated designs in the wedding theme colors
- Birthdays: Personalized with names and favorite colors
- Get well soon: A small pot of mint with a message of healing
They also make great hostess gifts, party favors, or thank-you tokens. Because plants symbolize growth and renewal, they carry a lovely message beyond just their visual appeal.
Tips for a Smooth Experience
After making dozens of these pots, I’ve picked up a few helpful tips to make the process easier:
- Let each paint layer dry completely before applying the next
- Don’t rush the sealing process, thin coats work better than one thick one
- Use painter’s tape for crisp lines and geometric shapes
- Practice hand lettering on paper before trying it on the pot
- Keep your designs simple if you’re short on time
- Store finished pots indoors to preserve the paint finish
These small habits make a big difference in the quality and longevity of each pot.
Creative Design Themes
If you’re looking for inspiration, here are a few themed ideas I’ve used that turned out beautifully:
- Celestial: Deep navy pots with moons and stars in metallic silver
- Tropical: Bright colors with painted pineapples or palm leaves
- Minimalist: Monochrome backgrounds with black brushstroke designs
- Nature-inspired: Earthy tones with ferns or mushroom shapes
- Farmhouse: Chalky white with hand-lettered quotes like “Home Grown”
Whether going modern or classic, themed designs make each pot cohesive and memorable.
Final Thoughts
DIY plant pot gifts with painted designs offer a wonderful combination of creativity, personalization, and nature. They’re a joy to make and a delight to give. With just a few materials and some imagination, anyone can create a gift that stands out from store-bought alternatives. These pots are more than just containers, they become thoughtful expressions of care and creativity.
Every time I finish a painted pot and tuck in a healthy little plant, I feel like I’ve made something truly special. The time, color, and attention I put into each one makes them feel personal and heartfelt. Whether you’re making one or a dozen, these DIY gifts are sure to leave a lasting impression.



GIPHY App Key not set. Please check settings