

 Z
Z
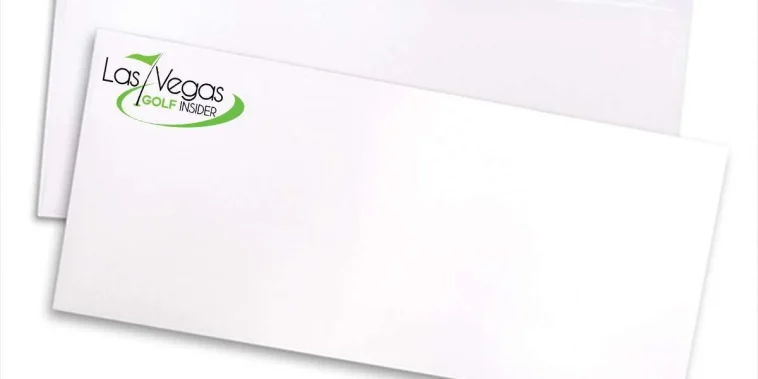
When I’m making a handmade card or small DIY gift, I always find myself thinking about the envelope too. It’s the first thing someone sees before they open the gift, and I want it to be just as beautiful as what’s inside. That’s where the magic of handmade envelopes comes in. A well-crafted envelope sets the tone, shows effort, and adds a personalized touch that pre-made envelopes simply can’t match.
Over time, I’ve developed my favorite techniques for gorgeous handmade envelopes that are simple, creative, and customizable for any occasion. Whether I’m sending a birthday card, a thank-you note, or a mini letter for a gift box, I love giving the envelope its own moment of charm.
In this guide, I’ll walk through five techniques for gorgeous handmade envelopes that anyone can master, regardless of skill level. Each method has its own unique look and feel, and I like rotating between them depending on my mood, the materials I have on hand, or the style of the card I’m enclosing.
Why Handmade Envelopes Make a Difference
A handmade envelope does more than just hold a card. It becomes part of the experience. It turns a simple message into a thoughtful presentation and tells the recipient that I really put time and intention into every part of their gift. It also allows me to match the envelope to the card or theme, which adds harmony and elegance to the finished project.
When I use techniques for gorgeous handmade envelopes, I get to experiment with colors, textures, and designs I might not include on the card itself. It’s also a great way to use up leftover paper scraps or materials from other crafts.
Selecting the Right Paper
Before diving into any of the envelope techniques, I always take a few moments to think about the type of paper I want to use. The envelope needs to be sturdy enough to hold its shape but flexible enough to fold neatly.
My go-to options include:
- Scrapbook paper with patterns
- Kraft paper for a rustic look
- Watercolor paper if I plan to paint
- Old book pages or sheet music for vintage vibes
- Handmade textured paper for an artisanal finish
The weight of the paper plays a big role. I try to stick to something around 120 to 180 gsm. Anything too thick becomes hard to fold, while paper that’s too thin may tear or feel flimsy.
Now, let’s dive into five of my favorite techniques for gorgeous handmade envelopes.
Technique 1: Template-Based Folding
This method is where I started, and it’s still one of my favorites because it gives such a polished result with very little guesswork.
I like to print or trace a reusable envelope template onto the back of my chosen paper. Then I cut it out and fold along the lines to shape the envelope. Most templates include tabs that overlap neatly, making it easy to glue shut.
This technique works well when I want consistency, especially if I’m making a batch of envelopes. I often customize each one afterward with doodles, rubber stamps, or paper cutouts.
To personalize this technique:
- Print your own template in different sizes
- Try unique envelope shapes like pointed flaps or scalloped edges
- Use glue dots or washi tape to seal the flap in a decorative way
This is one of the most reliable techniques for gorgeous handmade envelopes because it gives such a clean, crisp look.
Technique 2: Origami-Style Envelopes
This is where things get creative. When I want to make envelopes that don’t require cutting or glue, I turn to origami folding. All I need is a square piece of paper and some patience.
By folding each side in sequence and creating internal pockets, I can make an envelope that holds a card or note securely without any adhesive. I usually secure the final flap with a wax seal or a sticker to hold it in place.
This method feels elegant and minimal. I especially love using metallic origami paper or printed vellum for this technique.
Some fun variations include:
- Using double-sided paper for visual contrast
- Folding in a heart shape for romantic notes
- Making a tiny envelope for gift tags or money gifts
Among all the techniques for gorgeous handmade envelopes, this one always impresses with how clever and compact it is.
Technique 3: Layered and Lined Envelopes
Sometimes I want an envelope to feel luxurious, and that’s when I line it. I start with a plain handmade envelope from cardstock or kraft paper and then cut a second piece of decorative paper just slightly smaller to fit inside as a liner.
The lining could be metallic foil, floral prints, marbled textures, or even hand-painted watercolor. It adds depth and elegance without much extra effort. I like pairing these with wedding invitations or thank-you notes where the envelope deserves its own spotlight.
Here’s how I make them pop:
- Match the liner to the card’s color palette
- Use torn edges for a soft, handmade look
- Add a monogram or small motif printed inside the flap
It’s a subtle touch, but it elevates the final result in a big way. This is one of those techniques for gorgeous handmade envelopes that makes people do a double take when they open it.
Technique 4: Mixed Media Embellishment
When I really want my envelope to stand out, I treat it like a canvas. I use layers of mixed media to decorate the outside and give it personality. This method is perfect for artistic cards or creative mail.
I start with a plain paper base and then add elements like:
- Watercolor washes or splatter paint
- Hand-drawn doodles or botanical sketches
- Collaged papers, stamps, or washi tape
- Fabric or lace accents glued on for texture
Sometimes I even sew around the edges with a needle and thread to give it a stitched frame. It becomes more than just an envelope, it’s part of the artwork.
This is definitely one of the most expressive techniques for gorgeous handmade envelopes, and it gives me the freedom to experiment with any supplies I have on hand.
Technique 5: Die-Cut and Window Designs
If I want to add a bit of surprise, I like to create envelopes with peek-through windows or cut-out shapes. I use either a craft knife or a die-cutting machine to cut a design into the front flap of the envelope.
Some fun ideas I’ve used include:
- Hearts, stars, or circles that reveal a glimpse of the card
- Transparent vellum windows for a layered look
- Frames around names or short messages
I love how this technique turns the envelope into a sneak preview of what’s inside. It works best when paired with bold cards or layered inserts that show through the cutout.
Out of all the techniques for gorgeous handmade envelopes, this one might be the most playful and modern. It feels a bit like packaging design and cardmaking rolled into one.
Tips for Perfecting Your Envelopes
Once I got the hang of these techniques, I found a few tricks that helped me improve the results even more:
- Always score your folds before creasing to avoid cracking the paper
- Use a bone folder or the edge of a ruler to get crisp folds
- Keep double-sided tape or a glue stick handy for sealing
- Press the envelope under a heavy book for a few minutes after assembly to keep it flat
I also label the back of the envelope or flap with the recipient’s name in my best hand lettering. It adds a lovely finishing touch and gives it a polished, thoughtful feel.
Matching Envelopes to Cards and Gifts
One of my favorite things to do is design the envelope as a companion piece to the card or gift inside. If I’m giving a floral card, I echo the flower design on the envelope flap. If I’m wrapping a soap or candle gift, I match the envelope to the wrapping paper or color theme.
It’s all about harmony. When everything matches but still looks handmade, the entire gift becomes cohesive and memorable.
Storing and Displaying Your Handmade Envelopes
Over time, I’ve built a small collection of handmade envelopes in various sizes and themes. I keep them sorted by color and size in a craft box, so I always have something ready to go when I’m in a rush.
Handmade envelopes also make a beautiful gift on their own. I’ve bundled sets of envelopes with blank inserts, tied with twine, and given them to friends who love to write letters. They’re practical, charming, and made with love.
Conclusion
Using these five techniques for gorgeous handmade envelopes has transformed the way I approach cards and small gifts. Instead of rushing to find a plain envelope that “works,” I now see the envelope as an opportunity to express more creativity and care.
Every handmade envelope tells its own story. Whether it’s delicately folded, richly layered, or full of mixed-media charm, it adds depth and beauty to whatever I’m giving. And for the person receiving it, it sends a message that goes beyond words: you are worth the time, effort, and creativity I put into this.
I hope these ideas inspire you to experiment with your own envelope designs and turn the humble envelope into a meaningful work of art.

GIPHY App Key not set. Please check settings